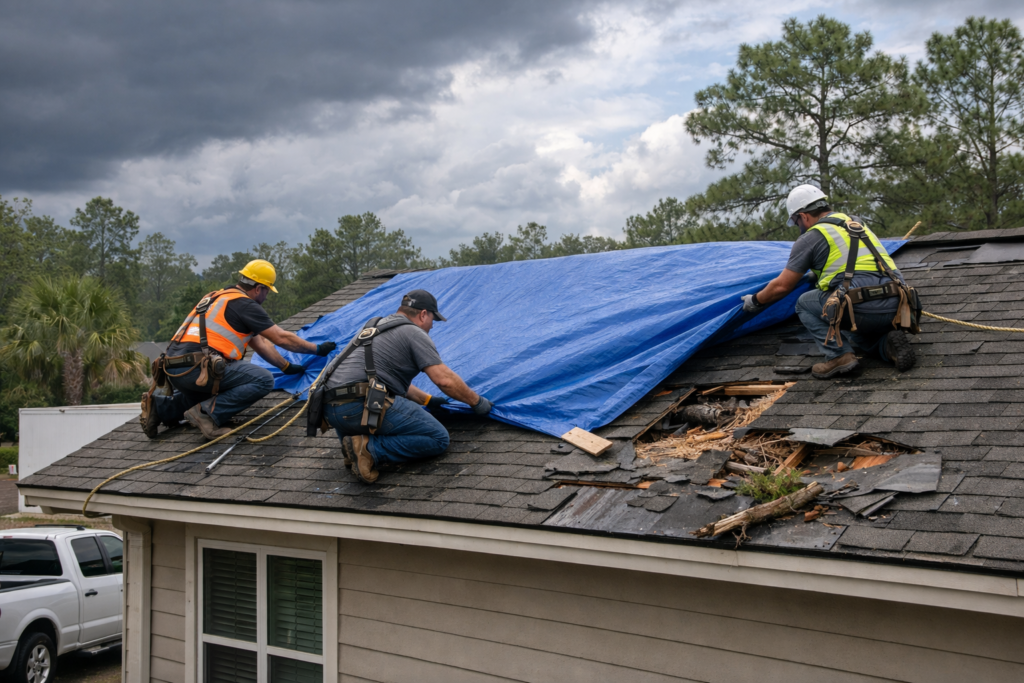
Tarping a Damaged Roof Safely
When severe storms, heavy wind uplift, or falling tree branches breach your home’s exterior envelope, immediate emergency response is critical to prevent cascading water damage. While waiting for professional assistance from Edison Emergency Roofers, securing a heavy-duty waterproof tarp over compromised sections serves as an essential temporary shield. However, scaling a damaged roof involves serious safety risks, heights, and unstable structures that require extreme caution. Visit Edison California Roofing Inc :https://share.google/fOhIM9UpSq5mE4OUu This guide outlines a methodical, beginner-friendly process for temporarily securing a damaged roof section while minimizing personal injury and further structural harm. Safety First: Essential Precautions Before gathering materials or setting up ladders, prioritize your personal safety above all else. Roofing work following a storm presents severe fall hazards, electrical risks, and structural instability. Materials and Tools Needed Gather all necessary supplies on the ground before climbing up to ensure efficient workflow and avoid multiple trips up and down the ladder. Material / Tool Purpose & Specification Heavy-Duty Poly Tarp Thick UV-resistant polyethylene tarp large enough to cover the damaged area plus a 2-foot overlap. Wood Furring Strips 2×4 wooden boards or 1×3 furring laths to anchor the tarp edges securely against wind uplift. Roofing Nails or Screws 2-inch roofing nails or corrosion-resistant deck screws to fasten the wood strips. Utility Knife & Hammer For cutting tarp material and driving fasteners securely into roof decking. Extension Ladder Sturdy ladder rated for your weight, extending at least 3 feet above the roof edge. Step-by-Step Guide to Tarping a Damaged Roof…